
With my Red Jeep I once again was without heated seats so wanted to reproduce this practical modification.
I found that Amazon had a few different options so I picked a cheap set with good reviews and figured I'd give them a shot. In all they were about $35 per seat.


Out of the box I was pretty impressed compared to the last set I installed for a similar price these seemed better quality. Mainly I am referring to the wiring harnesses that had a nice loom including heat shrinking.
Install

2. Remove the seats, a breaker bar and quality impact gun are helpful as the bolts are very tight. I took the opportunity to thoroughly clean under the seats as they collect lost change and anything else that falls between the seats.


3. The seats come apart with 2 bolts on either side, the pull handles must be removed which just requires a little metal clip to be pulled on their backside
 4. Opening up the fabric is simple as there is just a fold over plastic strip, this reminds me of the early Jeep JK soft-top.
 5. Expose some of the adhesive on the heating pads and slide it into the cavity squarely with the adhesive to the foam. Reach in and pull each strip off and press firmly when happy with the alignment.
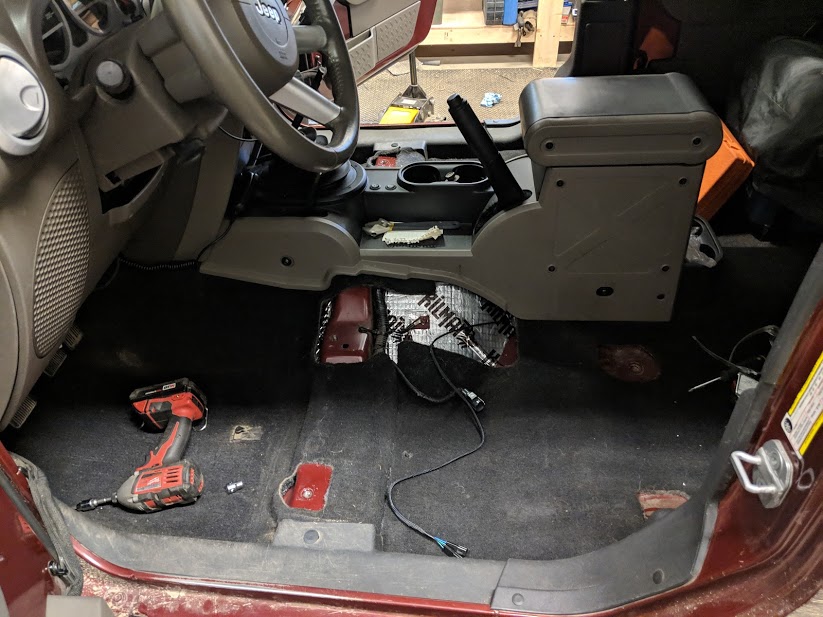
 6. I tied the power into the stock cigarette lighter outlet on the left of the dash, this is a switched power source which is only active when the ignition is on. The seat fuses are hidden behind the center stack lower trim panel. Originally I was worried about tapping into the power outlet, however this is where the moper kit also taps in and the draw is relatively low.
7. I secured the relays to a metal post which receives a clip for the center console. I made sure the wires were neatly routed and that there would be no interference with any of the wiring, especially the airbag module. (Note while I had the seats out I did a radio install, and installed some sound deadening)

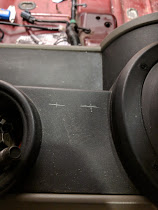 8. I laid out and marked the position of the switches and drilled pilot holes. I used a step drill to keep increasing the size until the switches fit in. Unlike the last install I mounted these on the flat surface between the cup holders and the shifter. Ensure the location you choose will not have any interference once the console is reassembled.
No comments:
Post a Comment